Color Restoration Project
This project was a real challenge. I think this was more of a resurrection
than a restoration.
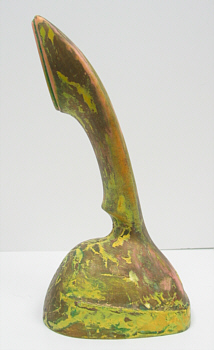
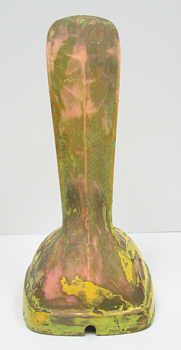
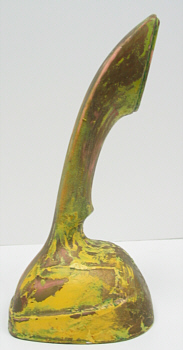
I started with a phone I won from eBay. The "paint job" on it
was at least 4 different colors of thick paint that someone had made an attempt to strip
at some point. If this were a common color Ericofon, I would never have attempted it. As
it is, I have about four hours into this project.
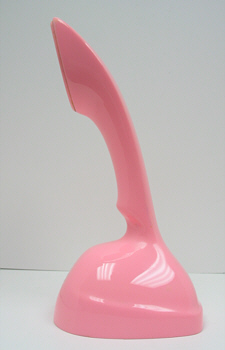
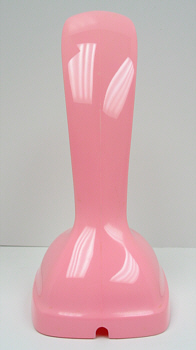
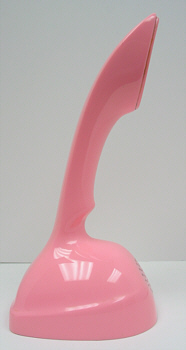
Looking at the phone now, I'm amazed at the color. This color is called
"Princess Pink", which is a very hard color to find in good shape. This color
did not hold up well over the years and tended to look bleached out with age. This phone
is still the bright bubble gum pink it was from the factory. The color on this phone is
even brighter than the one in my collection. If not for the fact it does have very tiny
flaws, I was strongly considering placing it in my collection. The flaws I'm talking about
are that there are still minute flecks of paint stuck in the seam of the ear piece. This
could be fixed with meticulous Exacto-Knife work I'm sure, but I'm not going to bother
myself.
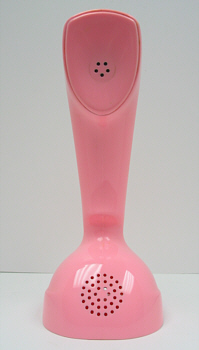
For this project, I used my restoration process: Color Restoration. The only exception being that I
started with 120 grit paper because of the thickness of the paint. I also used a razor
utility knife for digging paint out of the ear piece seam.
| Before (as if I need to tell you this) |
After |
 |
 |
 |
 |
 |
 |
 |
 |
|